Creating delicate veins on flower petals is one of the most rewarding parts of botanical painting. It’s where precision meets flow — those fine lines bring life and structure to your work. In this iris study, we’ll explore how to paint veins using a fine watercolour brush, with a focus on brush control, colour mixing, and rhythm.
1. Observe Before You Paint
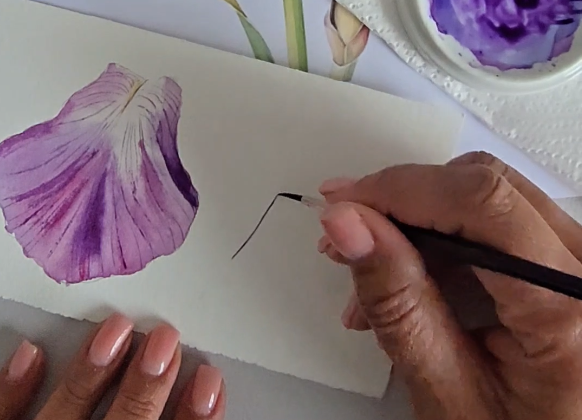
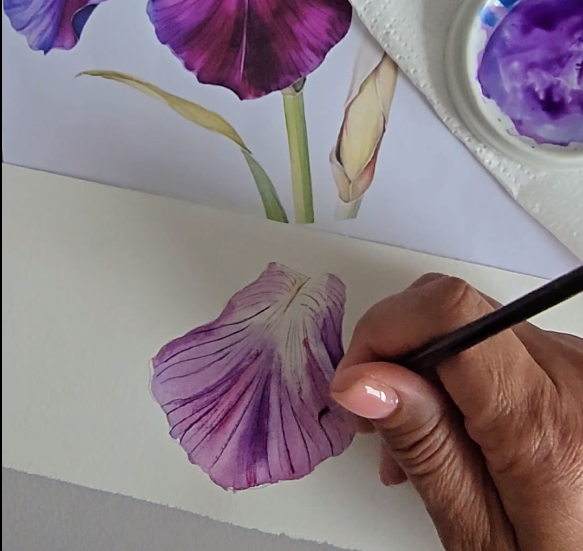
Start by studying your reference closely. Notice how the veins on the iris petal radiate from the centre and taper toward the edges. They’re not straight — they curve gently, following the petal’s form.
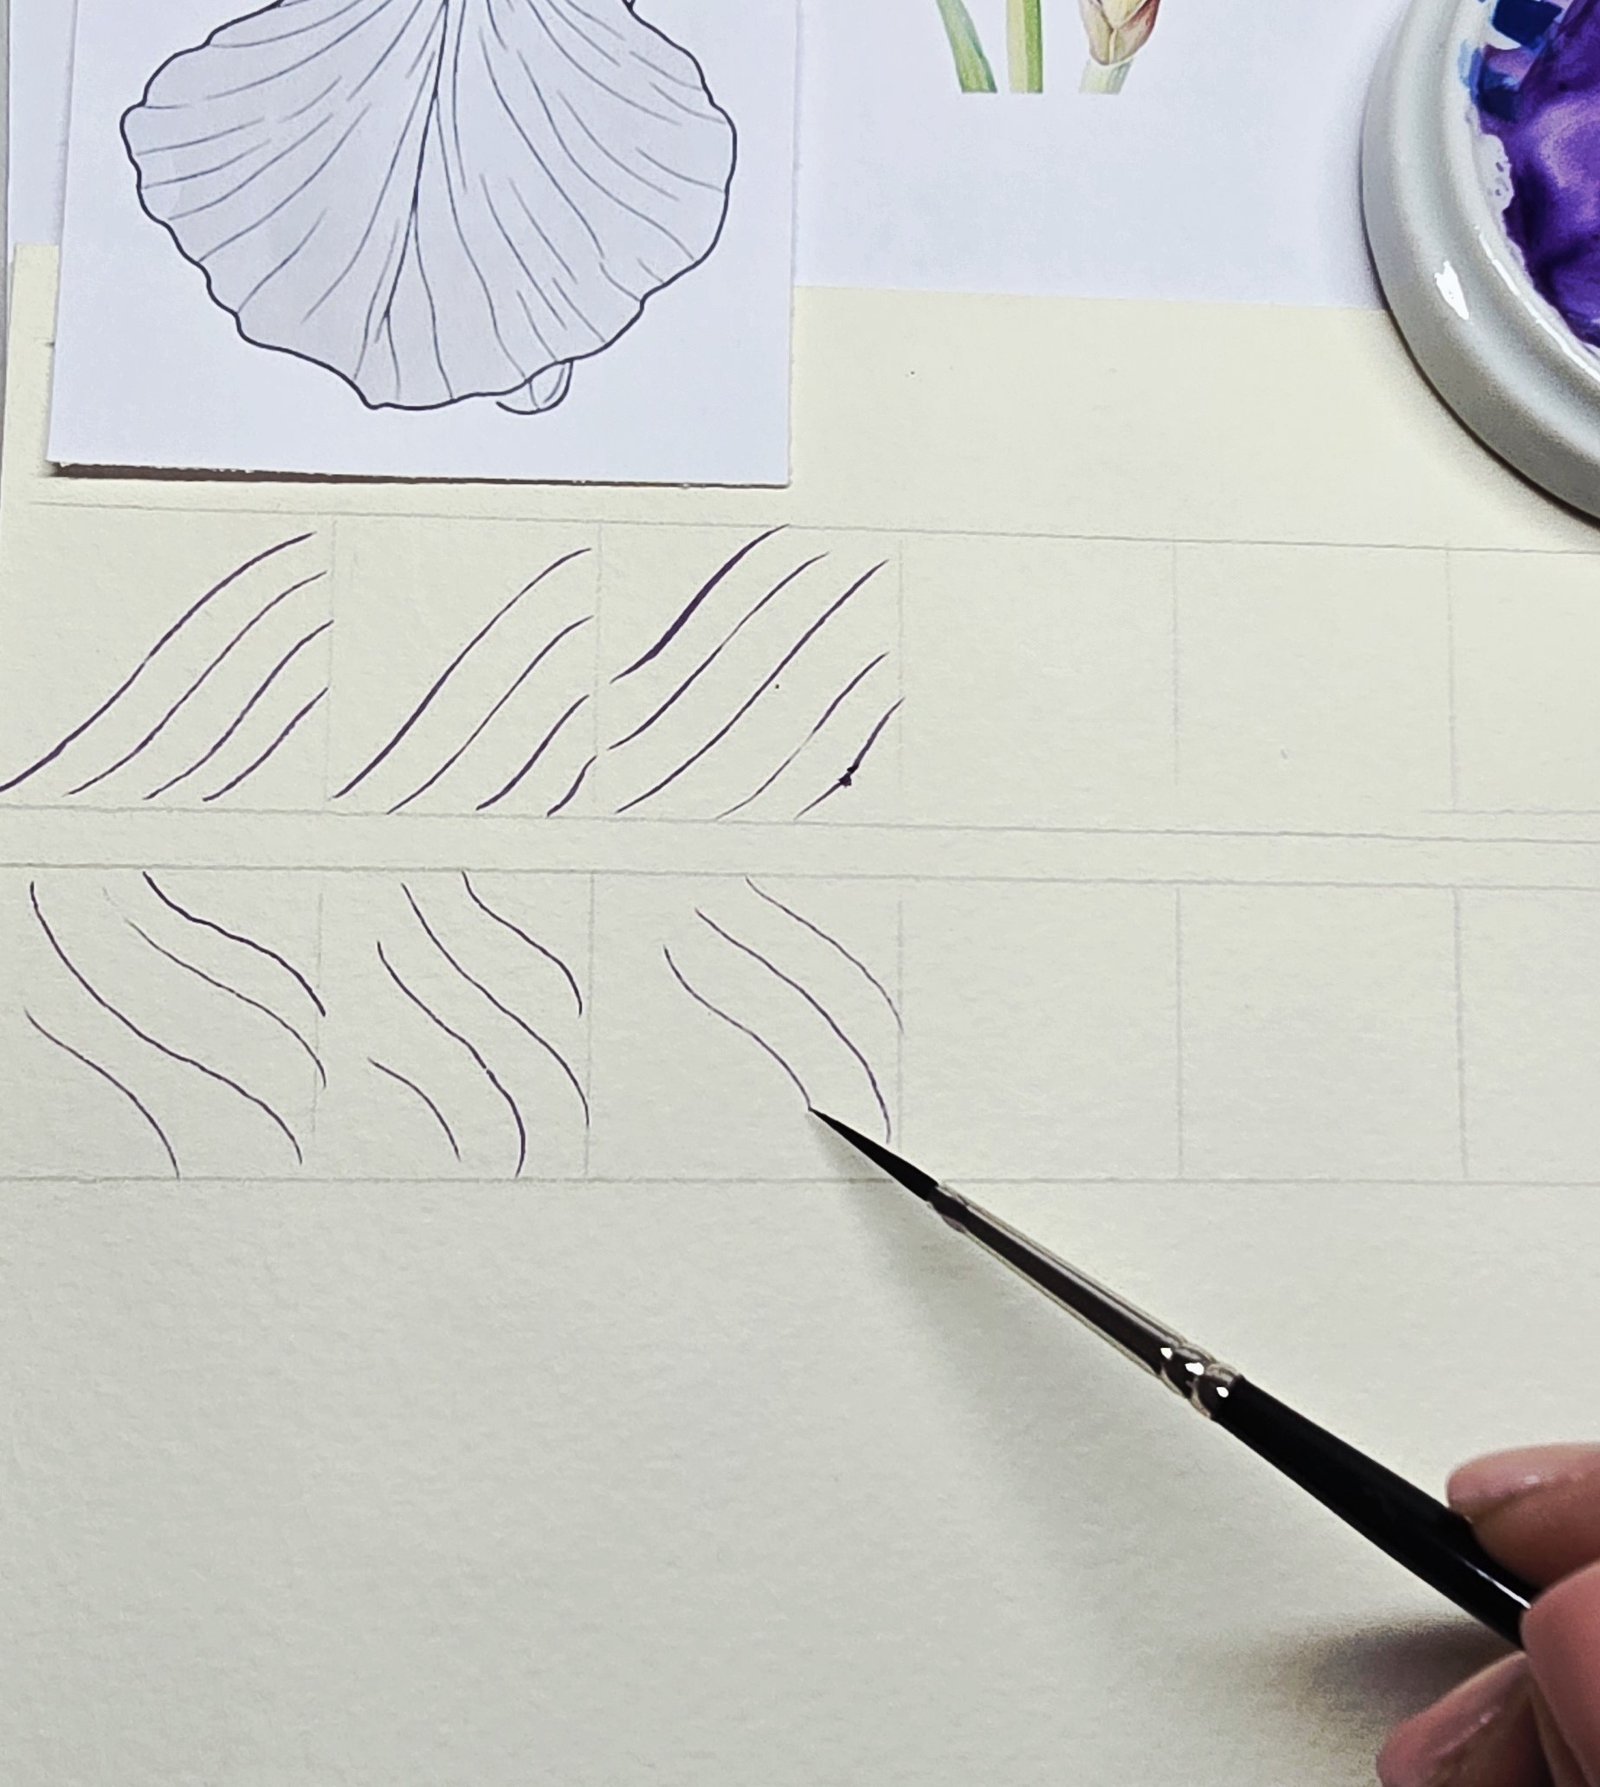
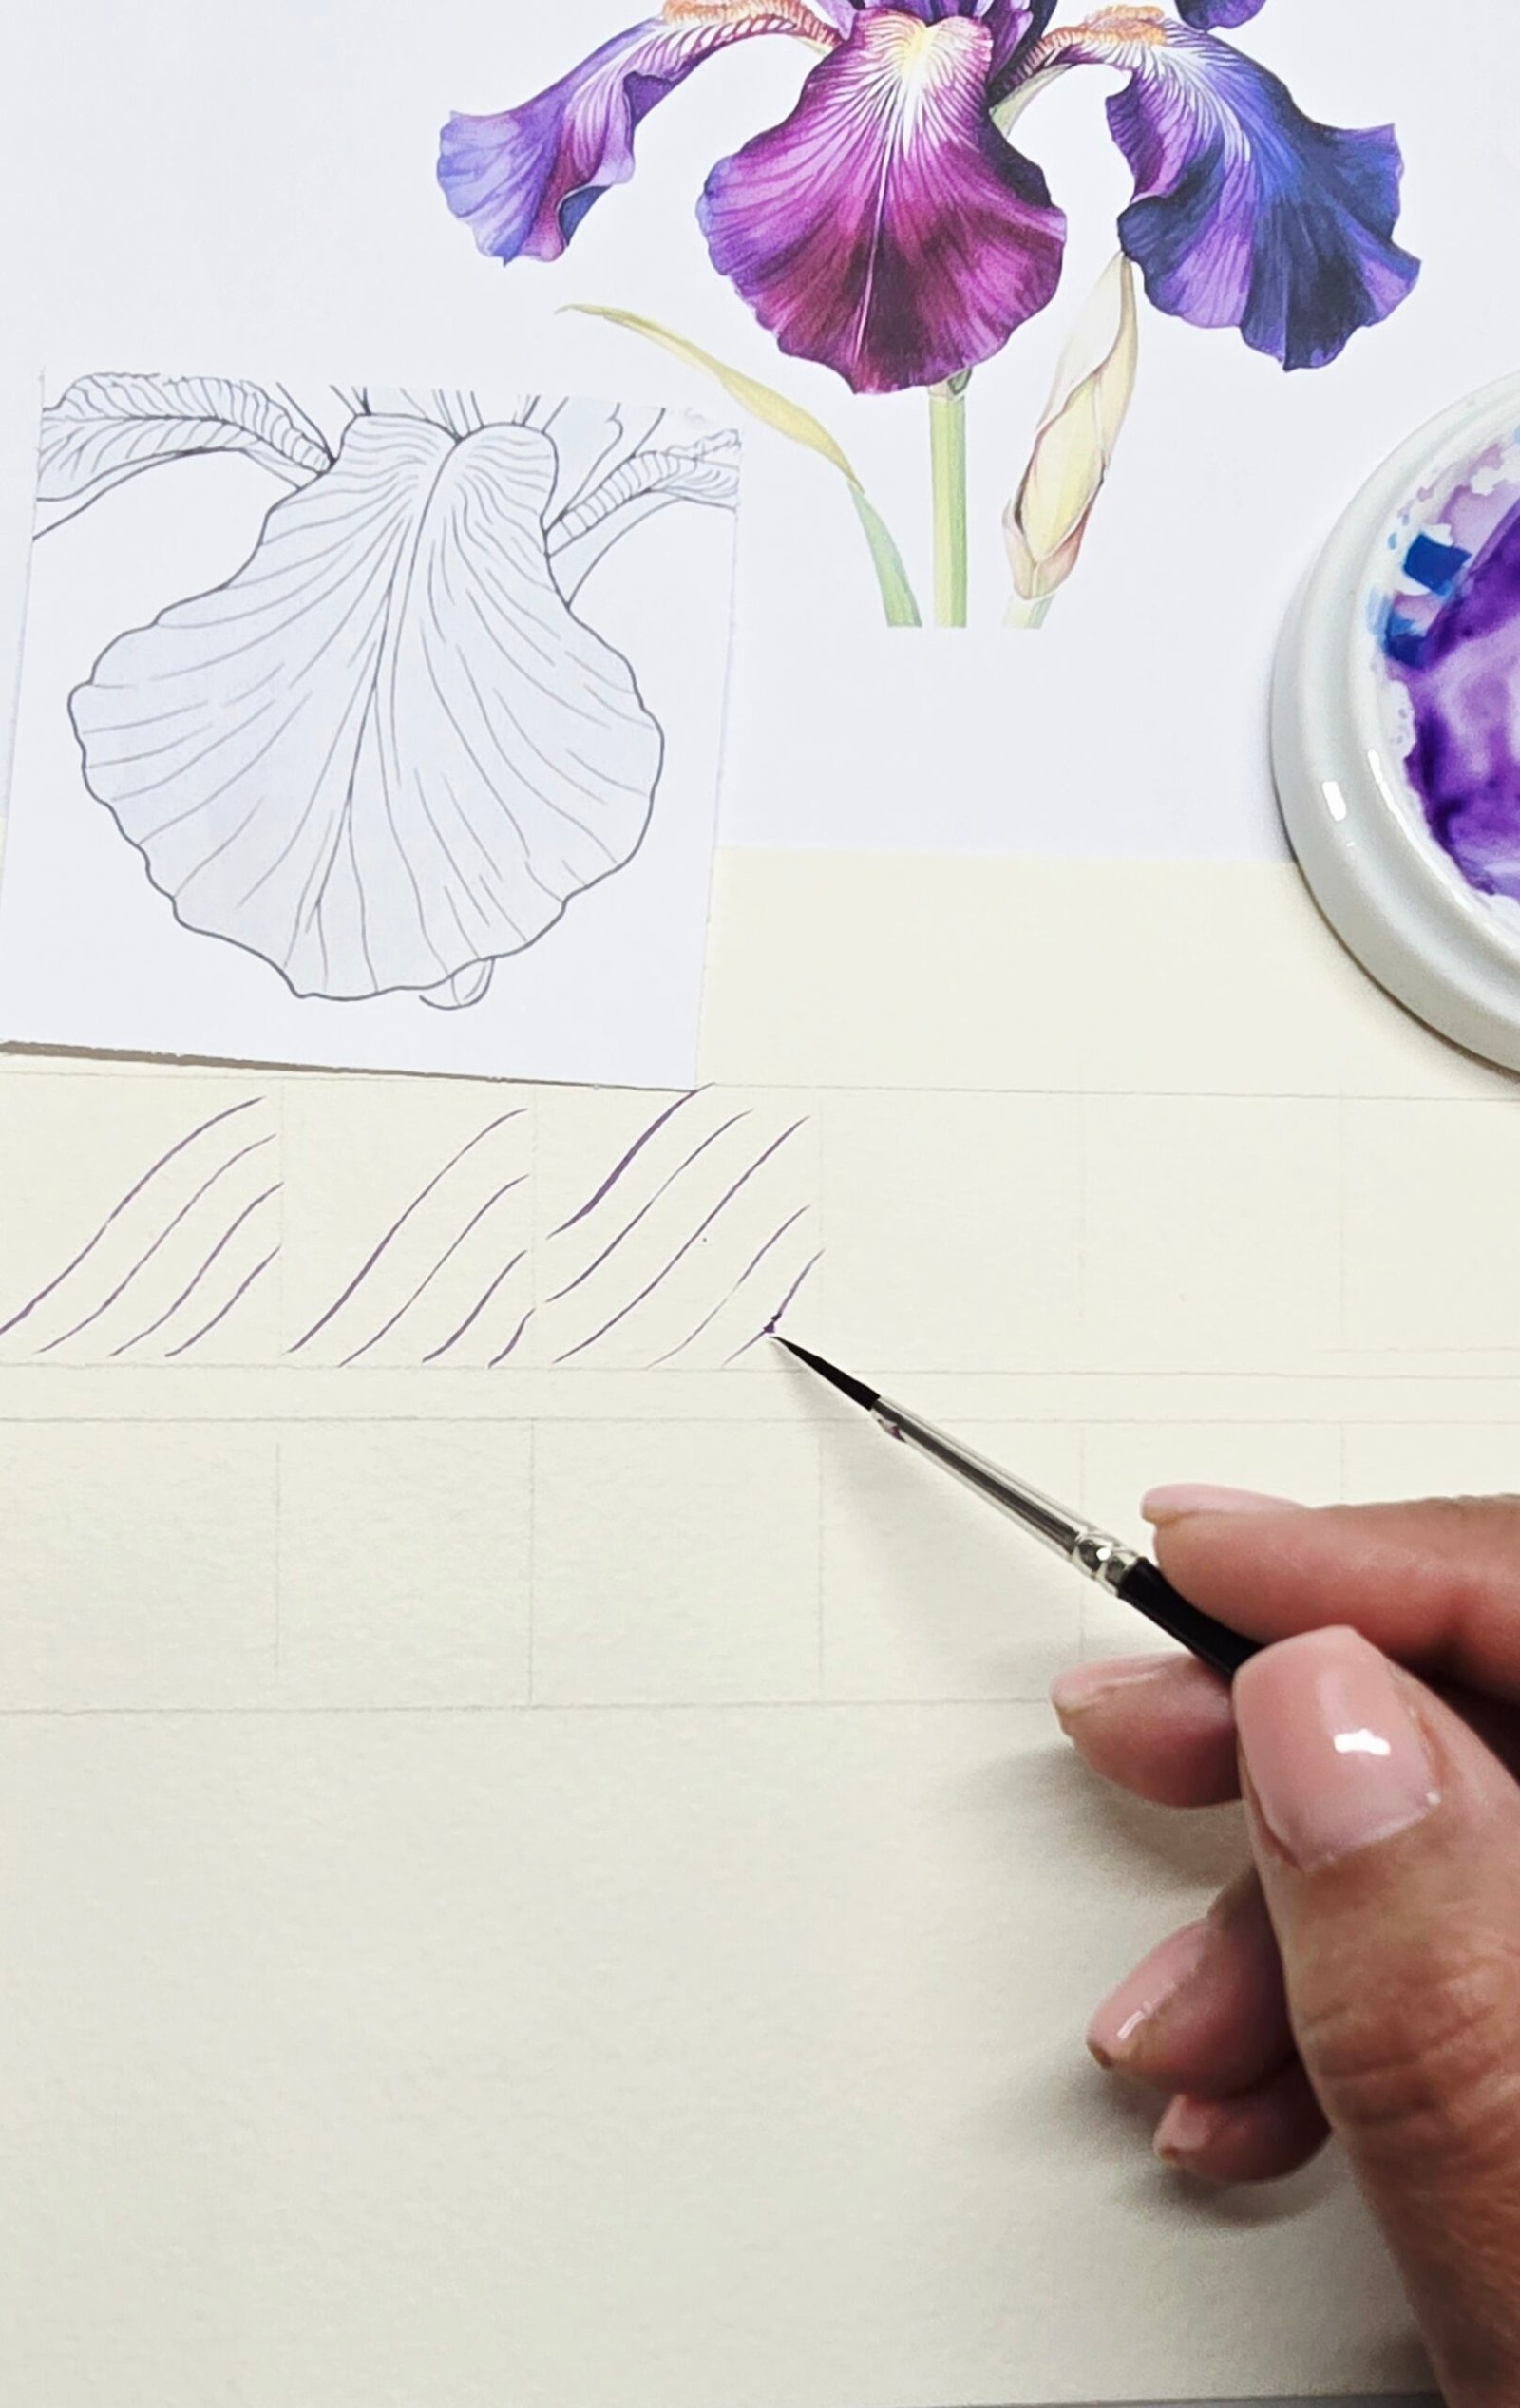
Sketch a few practice boxes (like in your exercise sheet) and trace the direction of the veins before adding paint. This helps train your hand for the natural flow.
2. Choose the Right Brush
Use a fine‑point round brush — size 0, 1, or 2 — with a sharp tip that springs back easily. A rigger brush is ideal for longer, continuous lines.
Before painting, roll the brush in your paint to form a needle‑sharp point. This simple step makes all the difference for crisp, elegant lines.
3. Mix the Perfect Colour
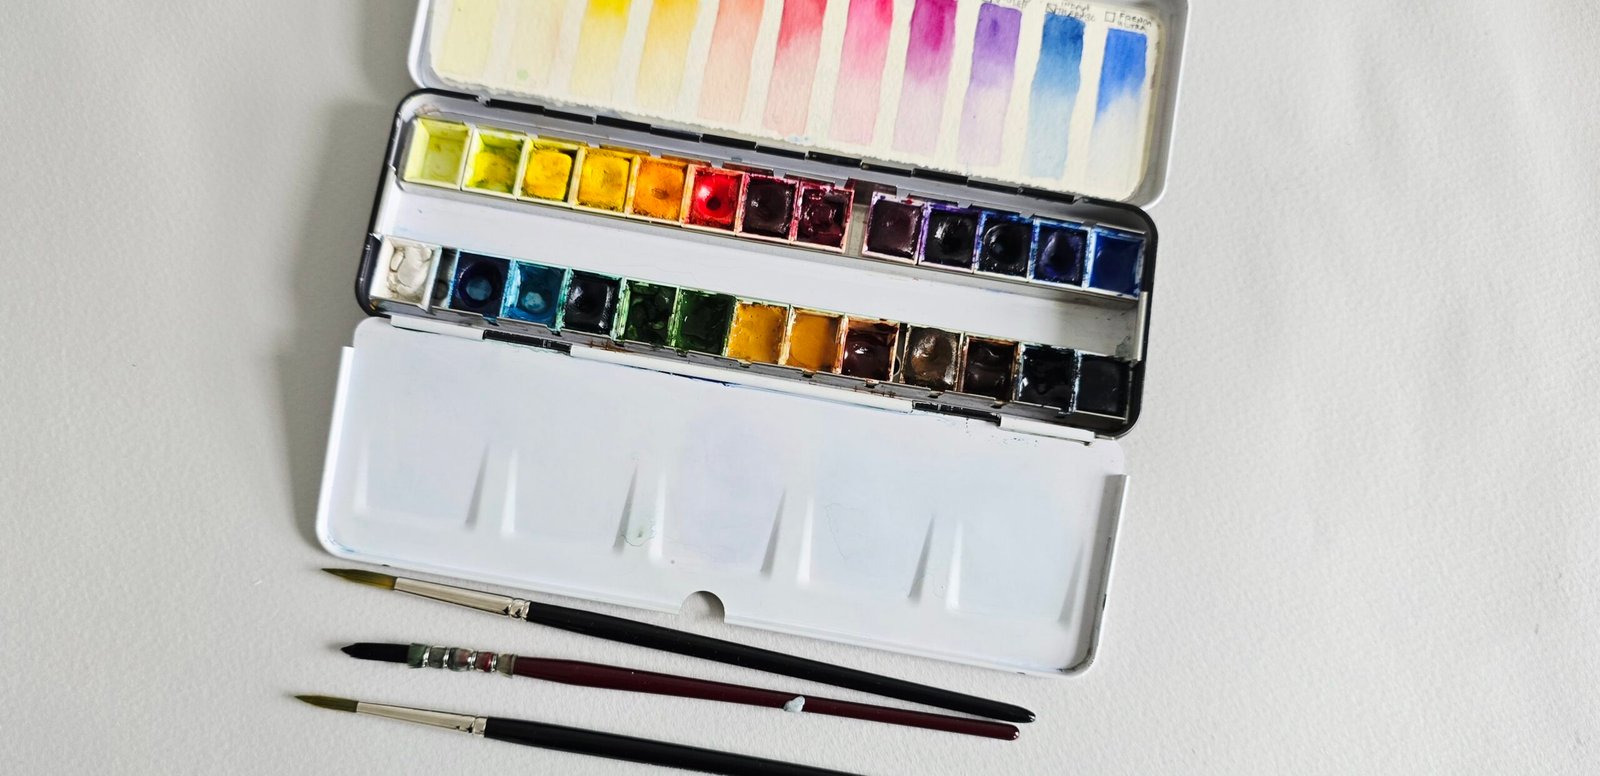
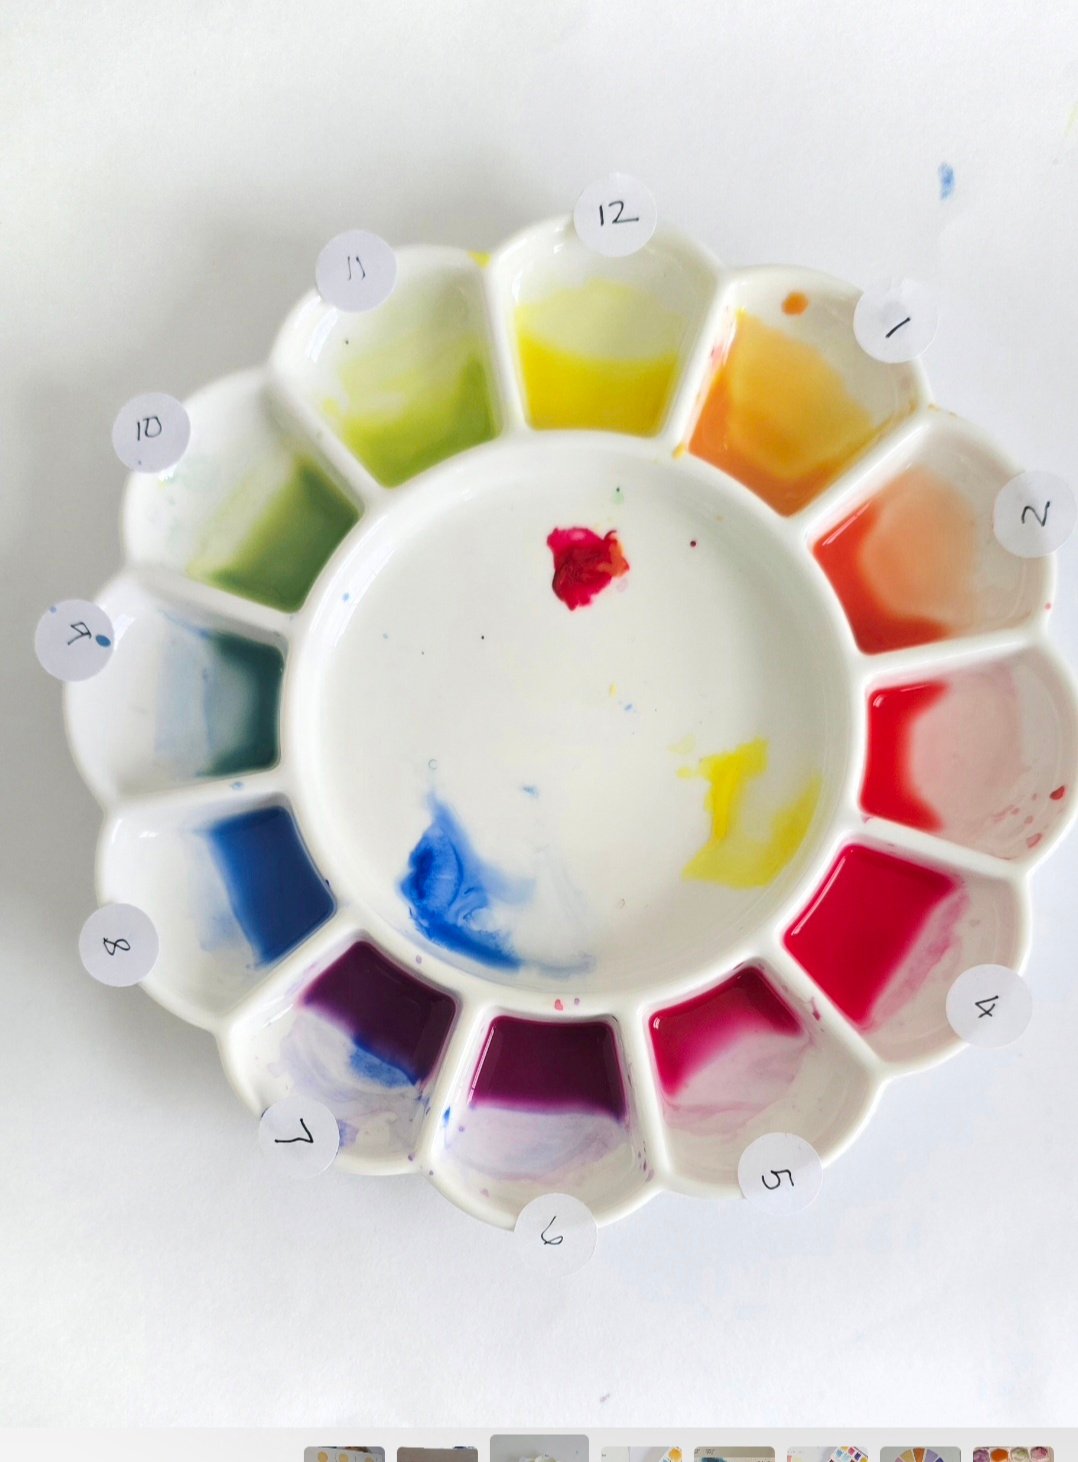
For iris petals, a balanced mix of Winsor & Newton Professional Watercolours works beautifully:
| Area | Colour Mix | Notes |
| Main veins | Dioxazine Violet + Winsor Blue (Red Shade) | Deep, cool purple for definition |
| Mid‑tones | Permanent Magenta + Cobalt Blue | Softer transition tones |
| Highlights | Permanent Rose + a touch of Lemon Yellow | Warmer, lighter veins near the centre |
| Shadow veins | Dioxazine Violet + Burnt Umber | Adds depth and realism |
Keep your paint creamy — not watery — so the line holds its shape without spreading.
4. Practise Line Flow
In your practice boxes:
- Paint three curved lines per box, varying pressure from light to medium.
- Lift gently at the end of each stroke to taper the line.
- Keep your wrist relaxed and move from your shoulder for smooth curves.
Try alternating direction to mimic the natural rhythm of petal veins.
5. Paint the Veins on the Petal
Once your base wash is dry:
- Load your brush with the vein colour mix.
- Start from the centre of the petal and pull outward in one confident motion.
- Vary thickness — some veins can fade softly into the petal.
- Add secondary veins branching off the main ones using lighter pressure.
- If needed, glaze over with a diluted wash to soften the look.
6. Finishing Touches
Step back and check the balance. The veins should enhance the form, not overpower it.
If any lines feel too strong, lightly blend with a damp brush or lift with tissue.
Remember — veins are organic. Slight variations make them look natural.
Encouragement for Learners
Fine lines take patience and practice. Each stroke builds confidence and control.
Use your exercise sheet to explore line weight, rhythm, and flow — and soon, your petals will look alive with graceful movement.
Want to Learn More? Join My 4‑Week Live Zoom Iris Course
If you’ve enjoyed practising fine lines and petal veins, you’ll love taking the next step with me. I’m running a 4‑week live Zoom course where we paint a beautiful, realistic iris from start to finish — exploring colour mixing, layering, detail work, and all the techniques that bring a botanical painting to life.
Each session is friendly, relaxed, and beginner‑welcoming. And don’t worry if you can’t attend live — all sessions are recorded, so you can watch them back anytime that suits you.
If you’d like to grow your skills, build confidence, and paint something you’re truly proud of, I’d love to have you join me.
Art by Purnima – Watercolour Fine Line Practice.
